The hype around NFT is unreal, and if you want to onboard the bandwagon and consider creating your own NFT project, this article is here to help. In just five simple steps, we will show you how to mint your very first NFT token and join the growing NFT community.
Step 1: Decide on the concept
Just because people had success selling images of a bored ape (BAYC) does not mean you will have the same luck. Choose an NFT project that you are genuinely interested in but also something others can relate to as well.
Nail down the concept, think of what unique attributes you will have, and the emotional connection that your customers can make with your NFT project. This step is fundamentally important as it will define the structure of your NFT project.
Step 2: Choose the platform
Once you have a detailed plan for your NFT project, it’s time to choose the right platform that lets you sell NFTs across a wide variety of blockchains. There are many great options out there, and honestly, it is impossible to cover all of the platforms in one single article. Therefore we will be covering the two most popular NFT selling platforms but if you have any preference, feel free to choose that one.
AtomicHub
Atomichub is particularly popular among new sellers as they have lower fees when compared to other platforms. Atomichub charges a flat 2.00% commission after the sale of the product which is deducted automatically at the time of the sale. AtomicHub also charges additional fees, such as royalties or blockchain fees. However, this will be subtracted directly from the sale price rather than being added as an extra fee.
Opensea
Opensea is another extremely popular option for its ease of use and the wide types of NFTs that it supports. But Opensea is more expensive and charges higher service fees, or “gas.” However, currently, Opensea offers a Lazy mint option which allows them to pay the fee when they actually make the sale. Opensea charges around 2.5% in prices and has supported various wallets, including MetaMask and Coinbase.
TIP: Read our article – What are NFTs and their history so far?
Step 3: Set up a wallet
Now that you have chosen your platform, the next step is to set up a wallet where you can store your cryptocurrencies or any NFTs you mint or buy. Different wallets come with different features, but for starters, you should only focus on whether the wallet you are choosing is supported by the platform you are using.
Whether you choose AtomicHub, Opeansea, or any other popular platform, MetaMask wallet will cover you. Setting up a wallet in MetaMask or other popular wallets is quite intuitive. Once the browser extension or app is installed, you will see a large “Create wallet” button. Just like you create an account, fill in your details like a unique username and password, and your account will be created automatically. One thing we do recommend is using a strong password and turning on two-step verification for signing in.
Once your wallet is created, you will get a 12-digit unique “seed phrase,” which is very important as it is the only way to get back your wallet in case you forget your password or change your device. It is important to note that if you forget the “seed phrase” and need access to your account, not even the wallet company can help you. Your money can be lost forever, as has happened with many people before, so consider keeping your “Seed phrase” safe.
After setting up your wallet, you will need to connect it with the NFT platform you choose earlier. If you are using Open Sea or AtomicHub, click the create button in the top left, which will prompt you to connect your wallet. Follow the on-screen instructions and fill in the necessary details, and your wallet will be connected with the NFT marketplace.
For other platforms, the process can be slightly different, but they should all share the same basic process.
TIP: Read our article – NFT for beginners – all you have to know.
Step 4: Create your NFT
Once your wallet is set up and connected with the NFT marketplace, it’s time for the magic to really take place. Open your AtomicHub/Open Sea or any other platform you are using. Press the Create NFT button, and you will arrive at the page you use to create an NFT.
Here you will find a detailed list of tools needed to present your NFT. You can upload an image, video, audio, or a 3D model of your NFT. You will also be required to give your NFT project a name and add a fancy description with which people can create an emotional connection with your project. However, these fields are optional, and if you think it’s not relevant to your NFT project, you may skip them.
After filling up the details, you will find a dropdown menu from which you can select which blockchain you’re minting your NFT. There are many different platforms, each with pros and cons. Currently, polygon does not charge a fee to list your NFTs.
Following your selection of a blockchain, you should double-check everything. As long as you haven’t placed it up for sale, both OpenSea and AtomicHub allow you to edit the information, but it’s best to check everything is in order before engaging in any blockchain-related activity.
Also, take notice that after the NFT has been created, you won’t be able to modify the blockchain it is on. When everything looks good, click the Create button and wait for some time for everything to be uploaded on the blockchain, and WALA, you just created your very first NFT. You should see a congratulatory page confirming that everything went smoothly.
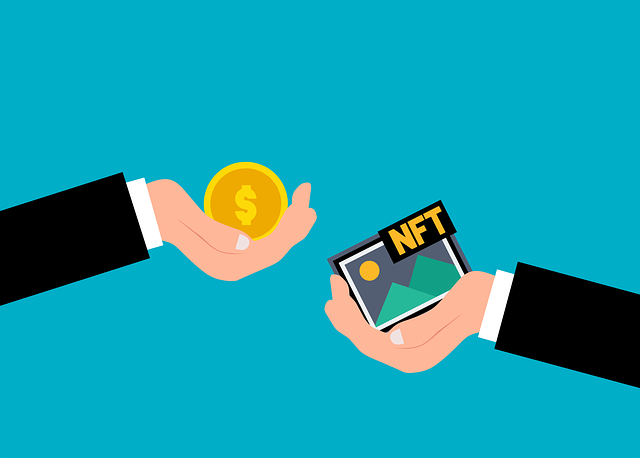
However, your NFT is not yet up for sale; if you want to sell your NFT, go to your platform home page and find the NFT that you just created. You should see a big sell button in the top right corner and press it. You will have the option to either sell it off at a fixed price or auction it to see the maximum value it reaches. After you press the confirmation button, your NFTs are up there for the world to buy.
Step 5: Share your work
It is important to understand that your NFT is not going to sell itself. Hundreds of new NFTs are added to the market every day, and you must showcase your work to the world if you want your NFT project to succeed. Brush up your Twitter and get familiar with discord groups, as it is important to use these channels to create the hype needed to sell your NFT.
Also, do not be afraid to do some experiments with your NFT price. Sometimes lower prices attract more customers, but again it’s not always the case.
We mentioned at the start of the article how people buy emotion; try creating a vivid story in the mind of your customers who see value in owning your NFT. Remember, people will only value it if it has a collectible value associated with it.
Conclusion
And that’s it; with these simple and easy-to-follow steps, you know how to create your own NFT project from scratch. But it is important to understand that, like all projects, NFT too requires patience and hard work, and no one should expect instant success. Creating a successful NFT project is more like a journey, and it is unlikely that you can venture to the last page without first visiting the struggling land.